Steps
STEP 1
Mark the center on 12"x5.5" boards using a tape measure. To make the two smaller vases, you will then divide the board into 4 equal squares of 3" each. For the taller vase, you will mark (2) 3" squares and (2) 6" rectangles.

STEP 2
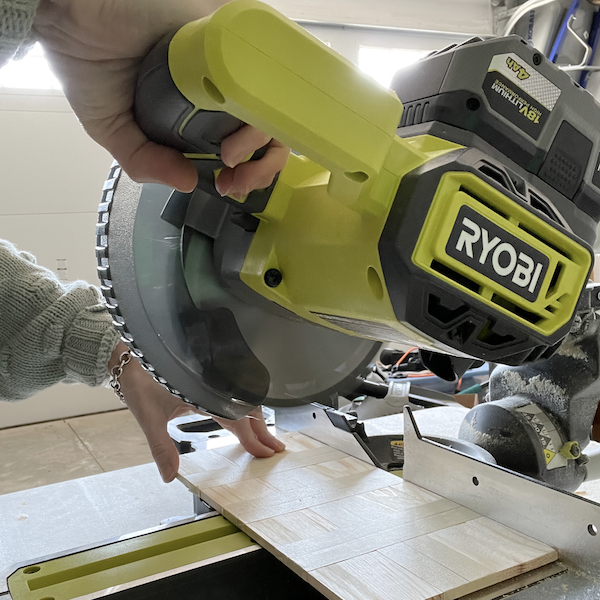
Make each cut, beginning with the shorter cuts. Remove tape after all cuts have been made.
Tools
STEP 3
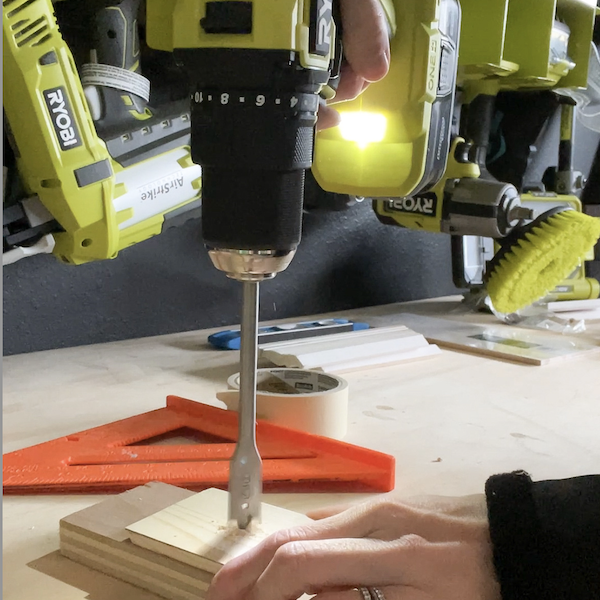
Find the center of each 3" board using a tape measure and make a small X. Use a small drill bit, make a pilot hole in each. Switch to a 1/2" drill bit (or a 1" depending on the size of your vase) and drill through your pilot hole on each.
Tools
STEP 4
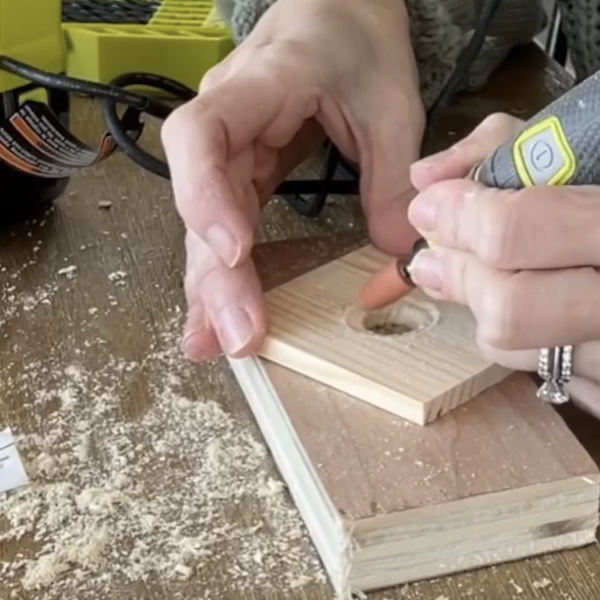
Center your vase upside down over each hole and trace around the lip of the vase. Carve out a small lip for your vase to sit in. It does not need to be very deep, just enough to give the glue more surface area to grab.
STEP 5
Apply Super Glue or Gorilla Glue to both the wood and the top rim of the vase. Set aside to dry.
Materials
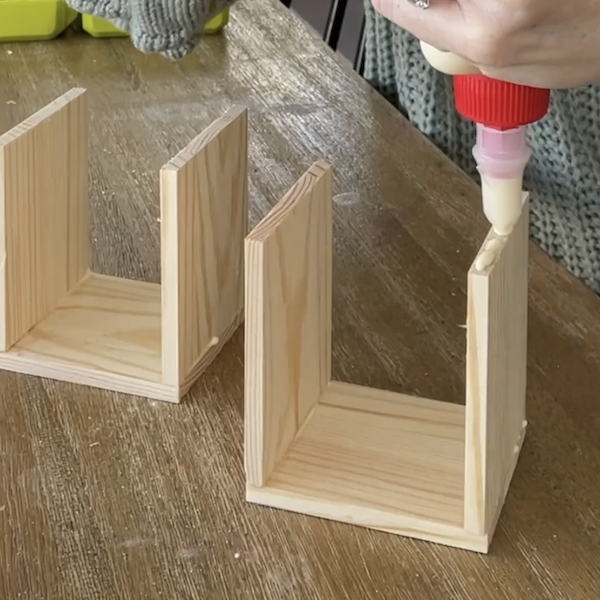
STEP 6
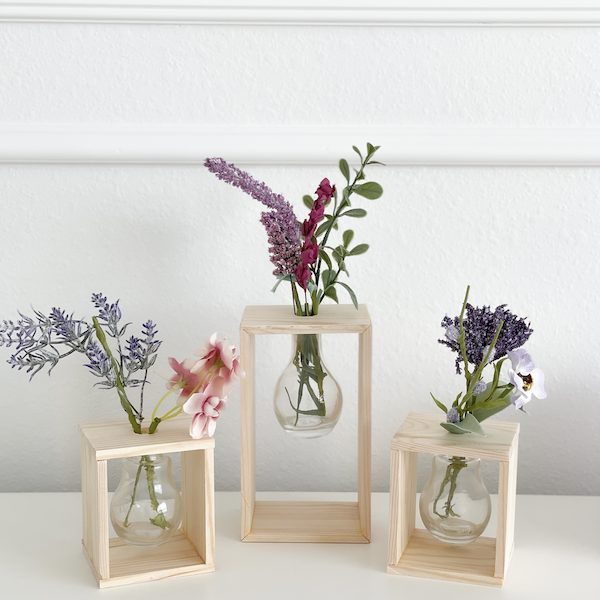
While the vase is drying, assemble the remaining pieces. Once all pieces have dried, attach the top/vase piece to the rest of the vase using wood glue. Let dry for 30min to an hour. Use a high grit sandpaper to soften any rough edges and add flowers!
Materials