Steps
STEP 1
Using oak hobby board panels (1/4x6-3ft) rip with a table saw (or cut with a circular saw), strips 1 1/2 inches wide.
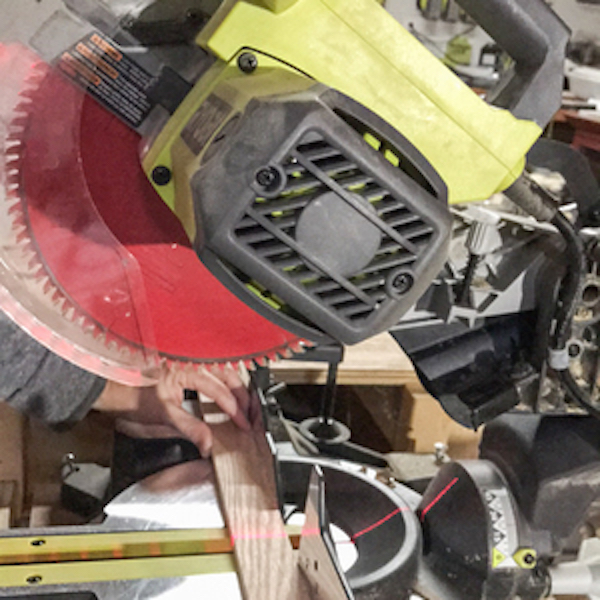
STEP 2
Trim strips into 11 3/4 and 9 3/4 long pieces. 12 of each.
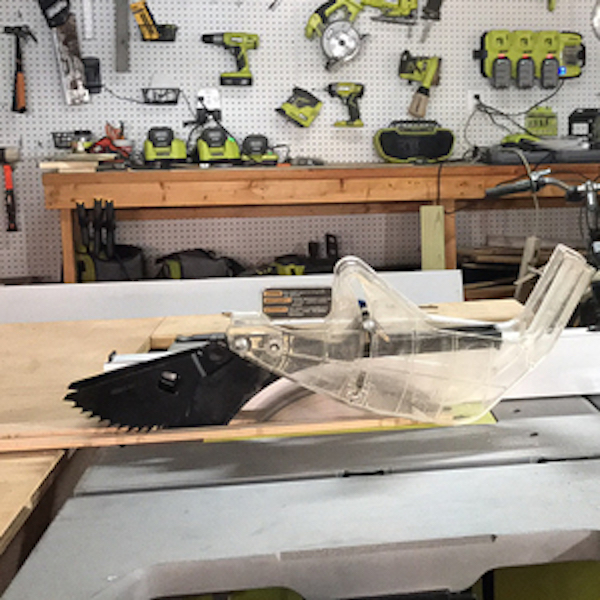
Tools
STEP 3
Lightly sand strips before assembling.

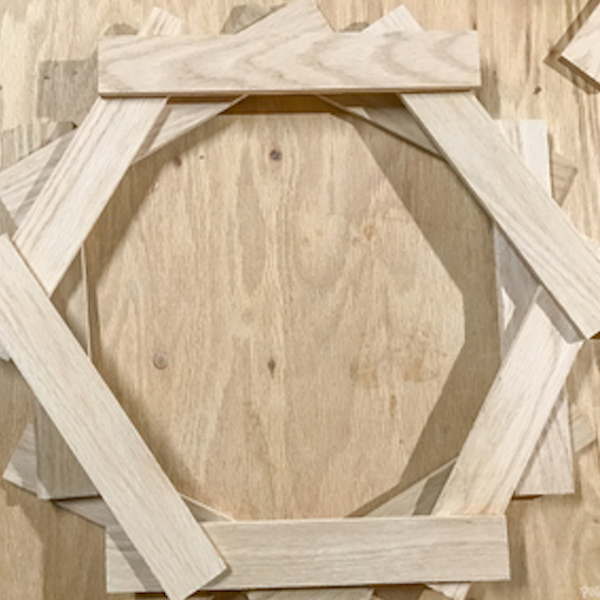
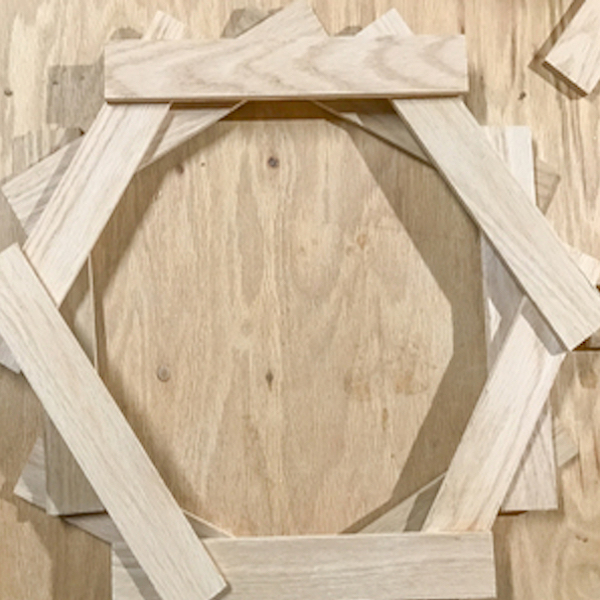
STEP 4
Arrange strips of smaller, 9 3/4 pieces into a hexagon shape. Make 2 of these.
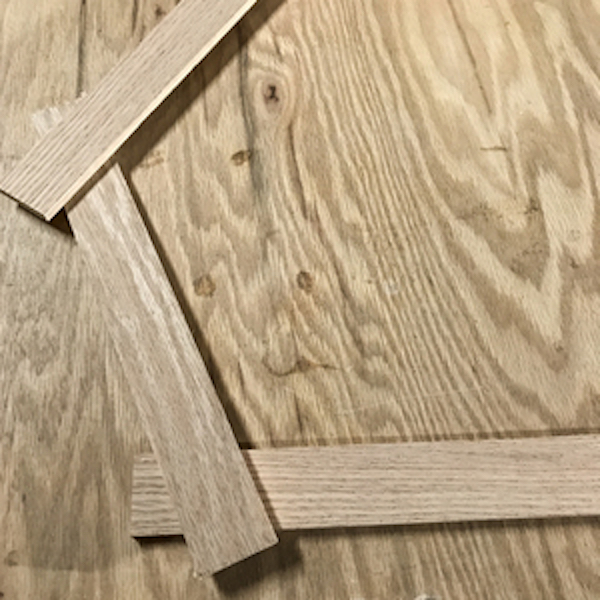
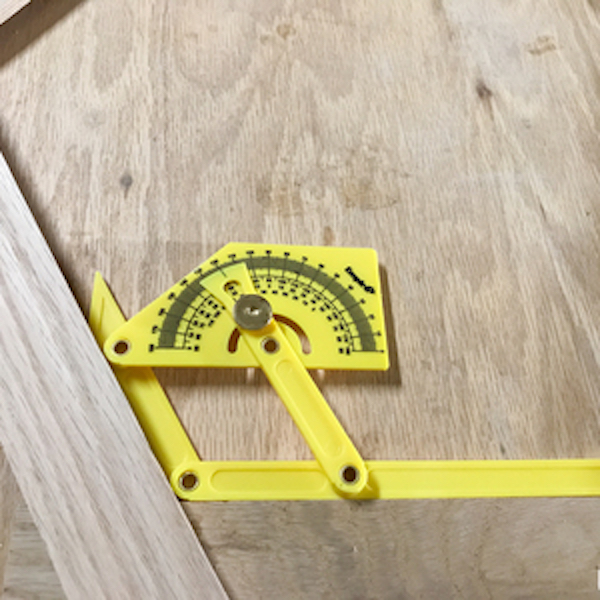
STEP 5
Use angle measure tool/guide or printed template to fairly accurately align corners. A regular hexagon like this one has corners that are 120 degrees. They don't have to be perfect, but getting the corners fairly close helps with the symmetry.
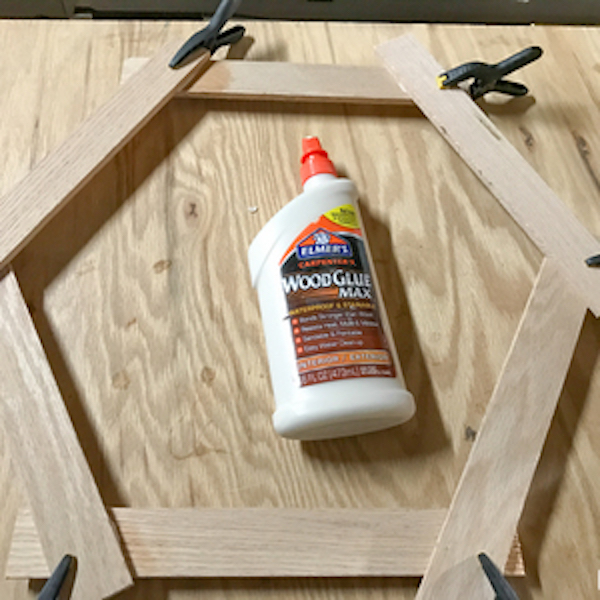
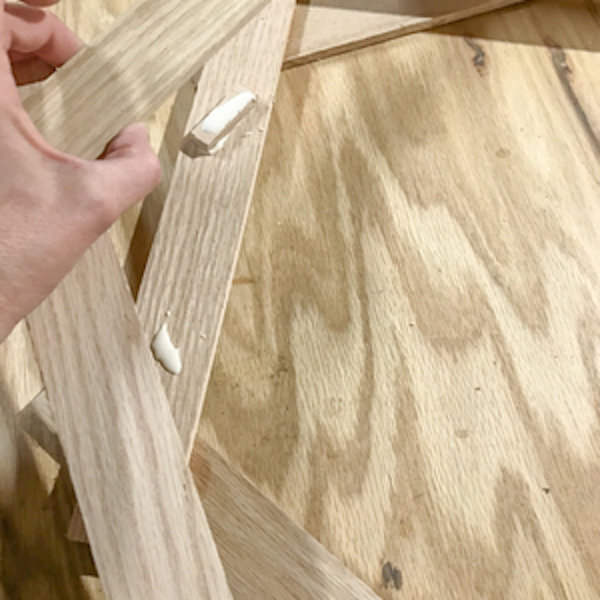
STEP 6
Wood glue overlapping wood slats to secure pieces together. Use small clamps if possible. (Not required.)
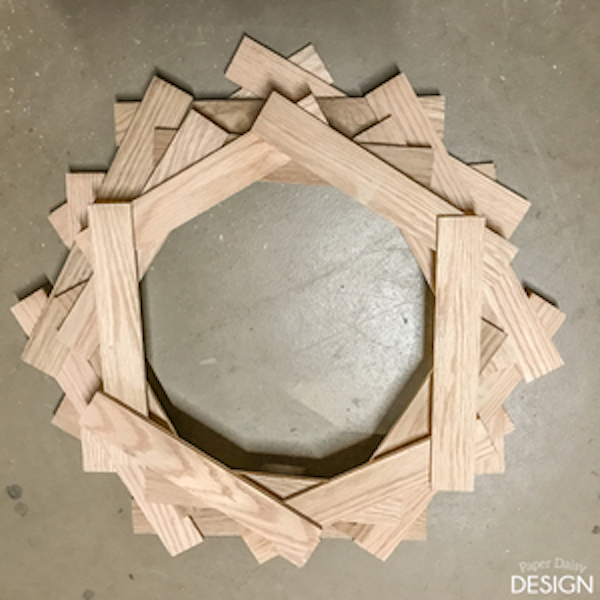
STEP 7
Once the hexagons are dry. Stack small hexagons one on top of the other, rotating the top hexagon about 45 degrees.
STEP 8
Add small scraps of wood as lifts to provide extra support where the layered hexagons do not touch because of the overlapping pieces. Add wood glue to all pieces that touch.
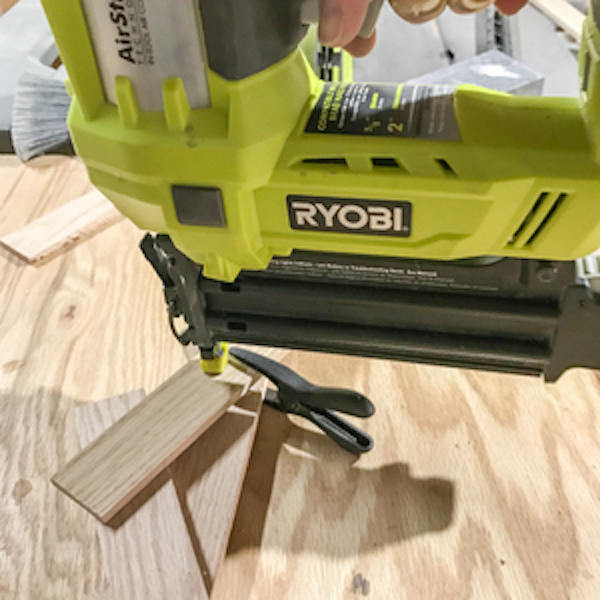
STEP 9
Using a brad nailer or staple gun, secure the two hexagons together where the thickest parts of the overlapping wood meet and/or where the scrap wood lifts were placed.
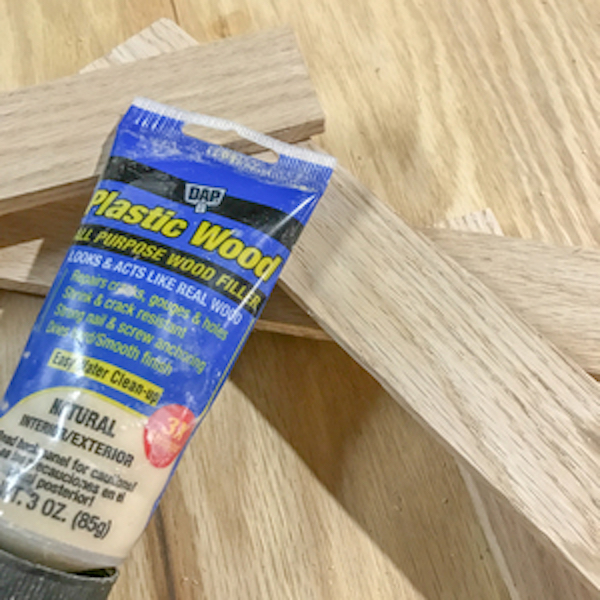
STEP 10
Fill nail or staple holes with wood filler.
STEP 11
Repeat steps 5-10 for the large hexagons.
STEP 12
Then attach the small hexagons on top of the larger hexagons, rotating as before. Attach with glue and nails or staples. Fill holes with wood filler.
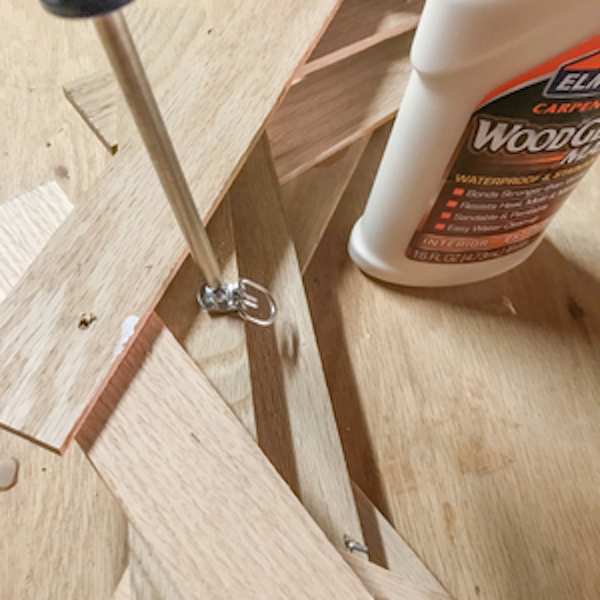
STEP 13
Attach a picture hanger to the back of the wreath. Pre-drill hole and carefully attach with a screw. Be conscious of hook placement as the screw may go through one layer of the wood.
Tools
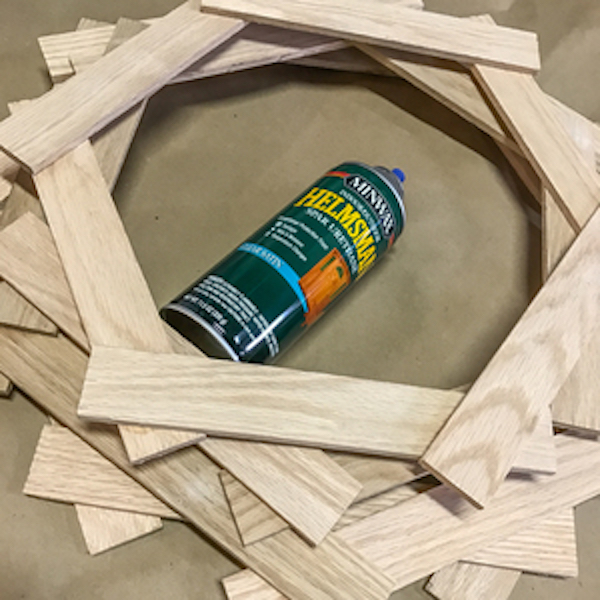
STEP 14
Apply desired finish. Because I used this beautiful oak wood, I decided to just add a clear satin finish suitable for outdoors. Feel free to be creative with your finishing, layer with different colors of finishes in advance or paint as desired.