Steps
Step 1
Take note of the current position of the shelves in your pantry if you want to place the new shelves in the same location. Remove current shelving and patch any holes/paint wall as needed.
Step 2
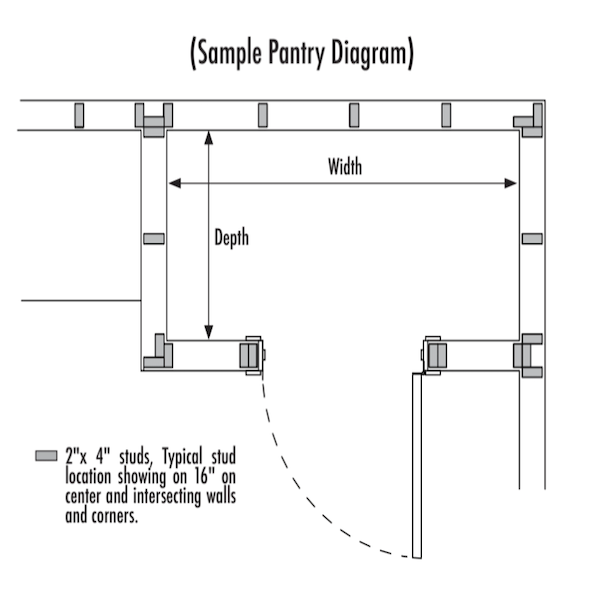
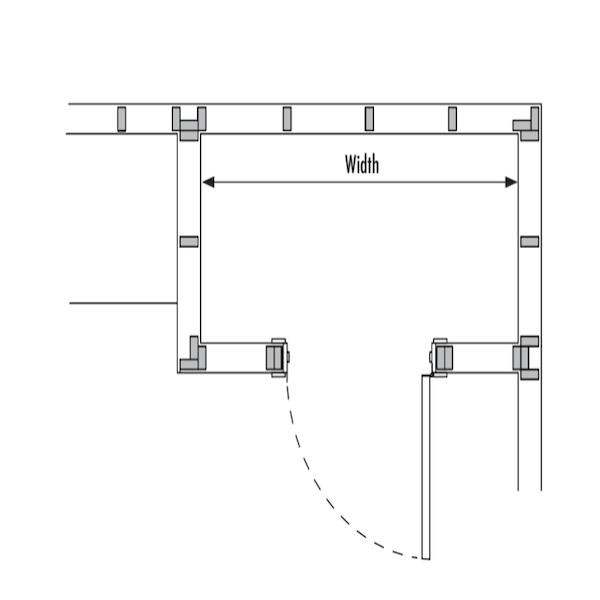
Measure the width of your pantry to determine the materials needed. Multiply that by the number of shelves being installed.
Tools
Step 3
Sand down your boards so the paint or stain goes on evenly. Paint or stain shelving boards, wall supports, and trim boards.
Tools
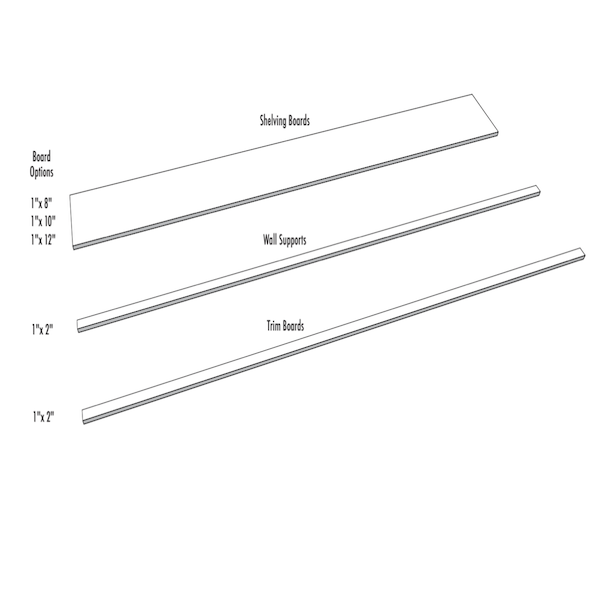
Materials
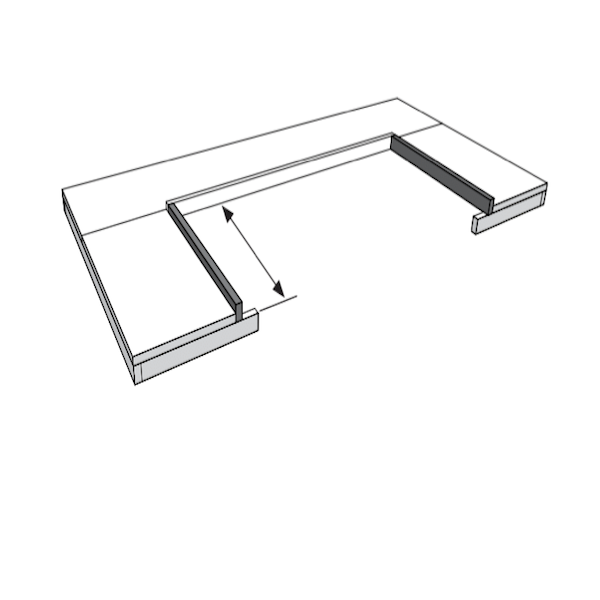
Step 4
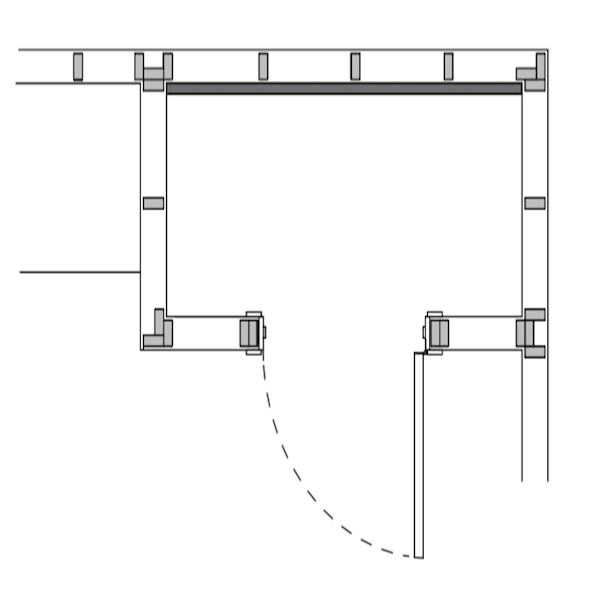
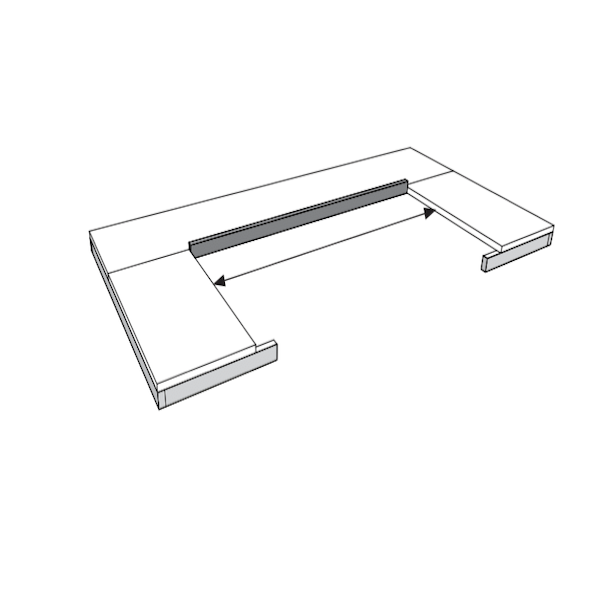
Measure the width of the pantry at the location the shelf is to be installed. Dimensions may vary, so measure for each shelf location. Use the following steps for shelf location.
Tools
Step 5
Cut 1" x 2" wall support boards to length. Locate studs and mount boards to back wall using brad nails. To secure, pre-drill holes for screws using a 7/64" drill bit, then countersink each hole for a screw head. Screw in using 2-1/2" screws.
Tools
Materials
Step 6
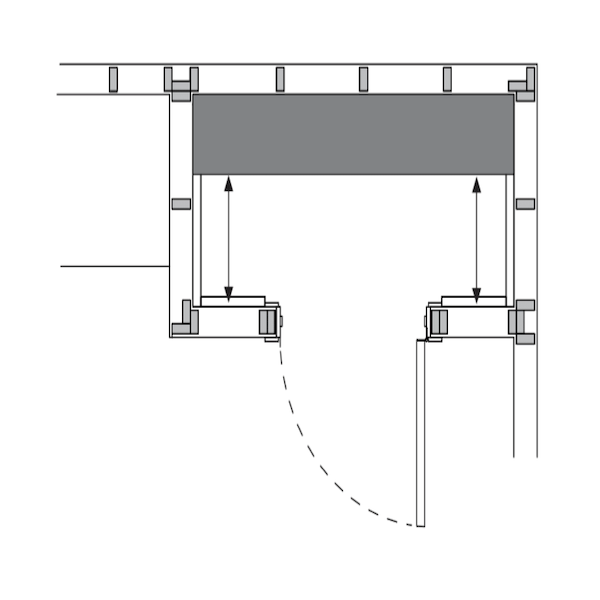
Measure the pantry sides to cut the side shelf supports. Repeat step 5 to attach 1" x 2" supports on both sides. Align the boards with the back supports and keep them level.
Tools
Materials
Step 7
Measure the distances on each side of the door. Repeat step 5 to attach the 1" x 2" supports. Attaching to each stud may leave support board longer than the depth of the side board. You can also use drywall anchors as an option.
Tools
Materials
Step 8
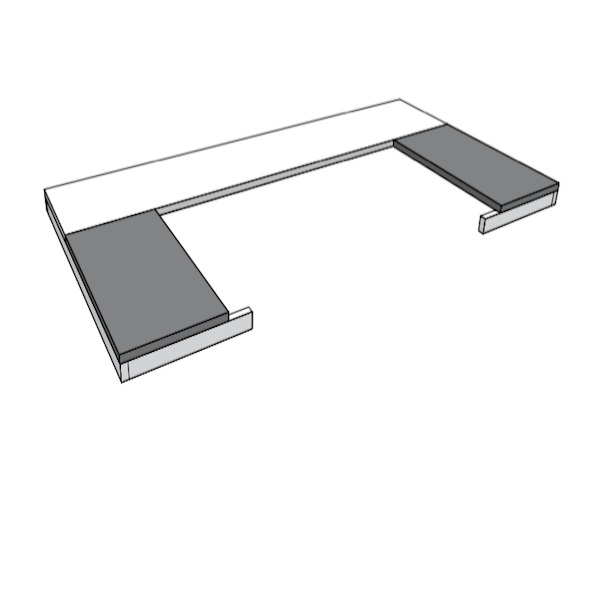
Double check measurements before cutting the back shelves. Then, cut the shelves.
Tools
Materials

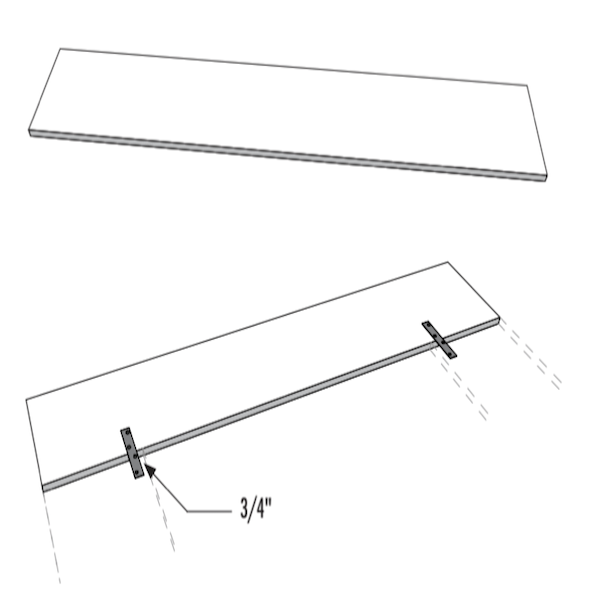
Step 9
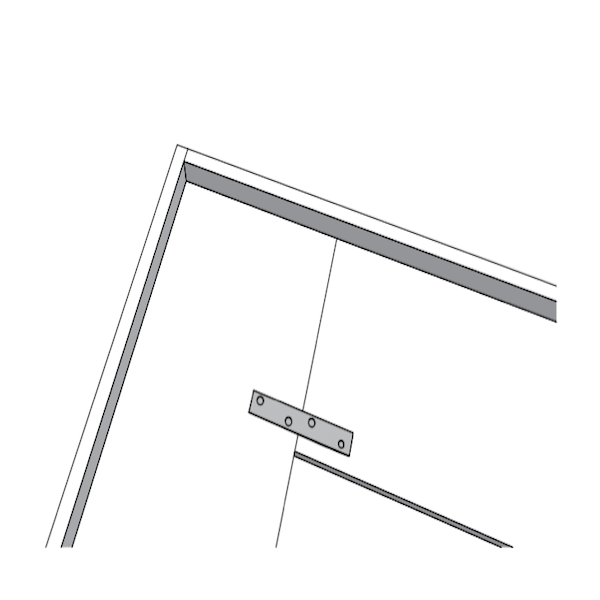
After cutting the back shelves, lay them upside down. Place 6" plates across half of the board and leave 3/4" off the edge. Attach with 5/8" wood screws.
Tools
Materials
Step 10
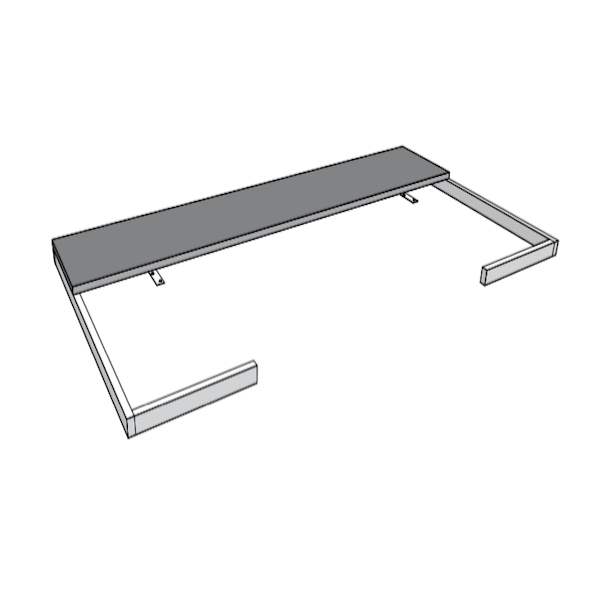
Place back shelf on top of wall supports. Attach using 1-1/2" brad nails along the perimeter into the support boards. Do the same for each shelf.
Tools
Materials
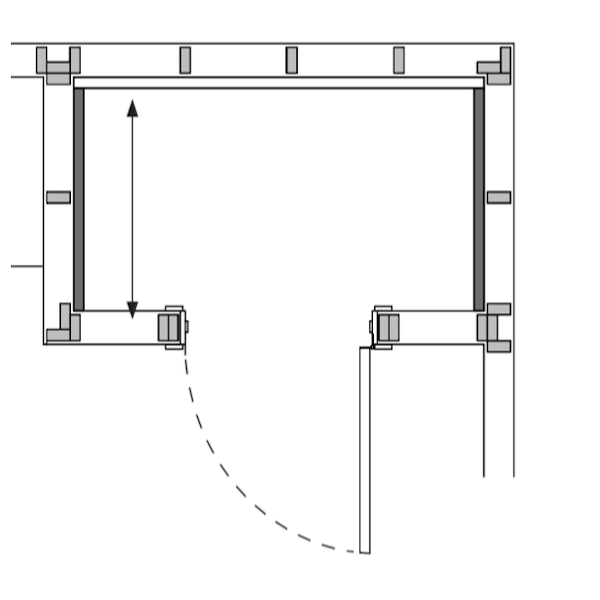
Step 11
Measure the length of your side shelves from the wall inside the doorway to the front of the back shelf. Cut your shelves to the correct size.
Tools
Materials
Step 12
Place the side shelves on top of the wall supports. Attach using 1-1/2" brad nails along the perimeter into the support boards. Do the same for each shelf.
Tools
Materials
Step 13
On the underside of the shelves, finish attaching the plates with 5/8" wood screws.
Tools
Materials
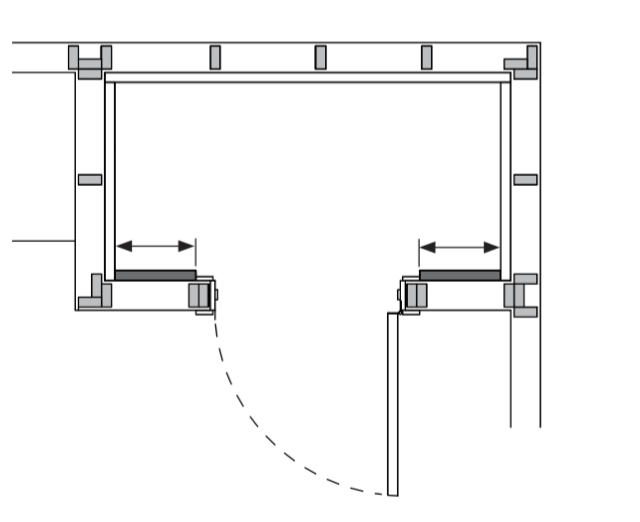
Step 14
Measure the distance between shelves. Cut Trim board to length. Attach with 1-1/2" brad nails.
Tools
Materials
Step 15
Measure the distance between the shelf and the wall. Cut 1" x 2" trim board to length. Attach with 1-1/2" brad nails. Do the same for all shelves. Touch up with paint as needed.
Tools
Materials