Steps
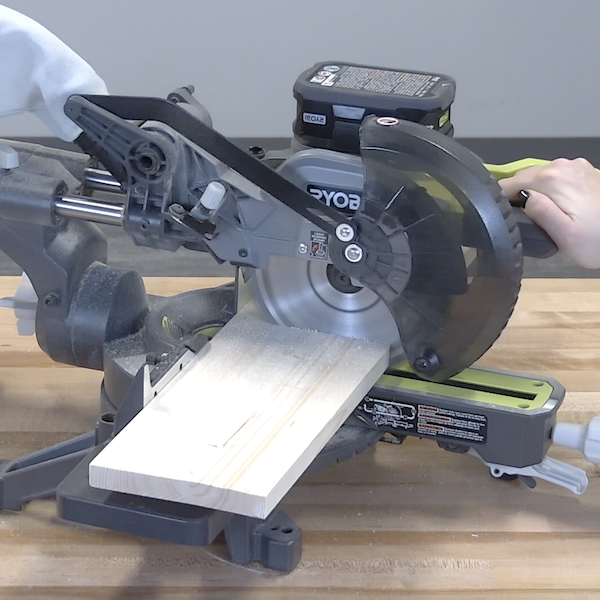
STEP 1
Measure and mark two 12 inch pieces on the wood piece. Line up the wood in the 18V ONE+ 7 - 1/4" Compound Sliding Miter Saw, then cut the wood along the measurement lines.
Tools
Materials
STEP 2
Use the Sanding Drum with the Sanding Band to sand along the edges where the wood was cut to smooth out any imperfections.
Tools
Materials

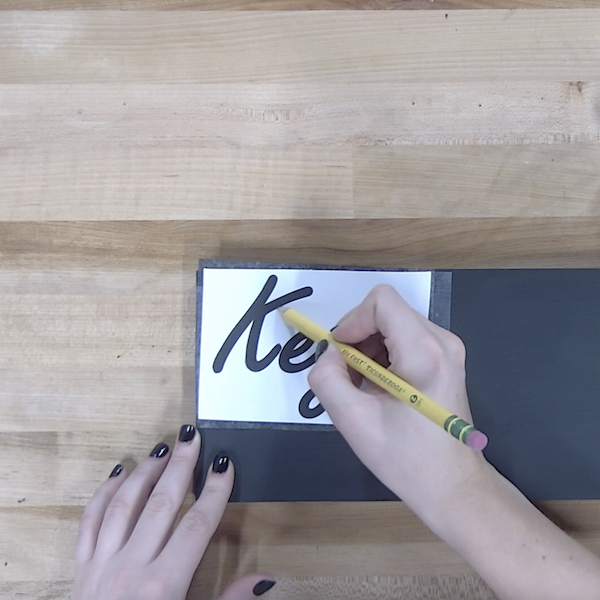
STEP 3
Paint the back piece of wood with the black paint and allow it to dry. Place the "Keys" letters with the tracing paper on the wood piece to mark where the letters will be engraved. Coat the shelf piece with wood gloss and set aside to dry.
Materials
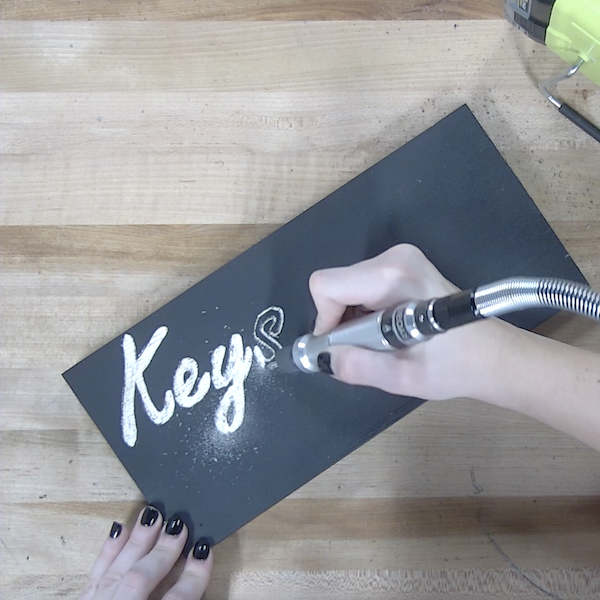
STEP 4
Use the Ball Engraving Burr to engrave along the "Keys" outline until the letters are fully engraved into the wood.
Tools
Materials
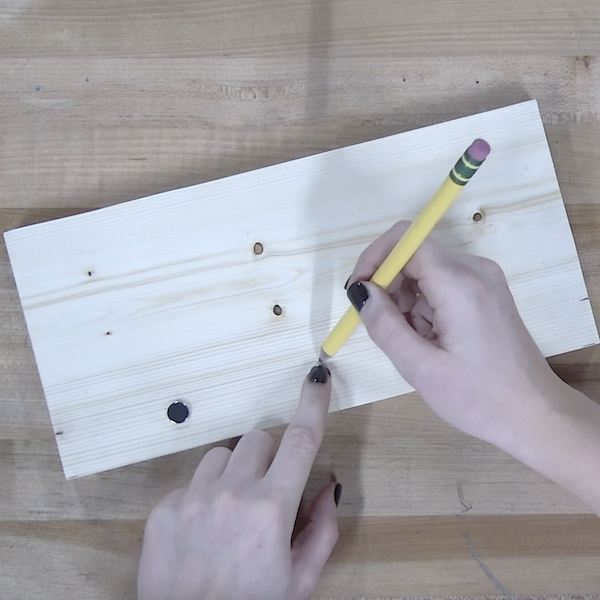
STEP 5
Measure two inches in on the wood gloss piece vertically and mark. Mark three points along the horizontal side at 3, 6, and 9 inches. On these points, trace out each magnet using a pencil.
Tools
Materials
STEP 6
Use the Cone Engraving Burr to carve out each circle. Switch the bit to the Cylinder Engraving Burr and use it to finish up each circle. Use the 18V ONE+ Dual Temperature Glue Gun to secure each magnet.
Tools
Materials
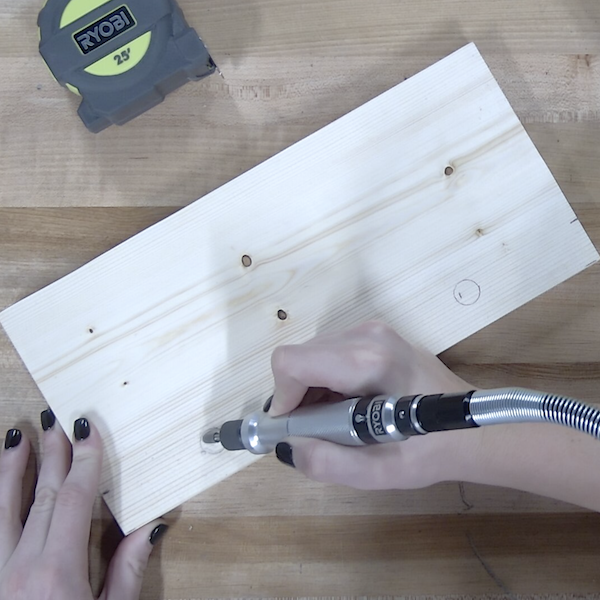
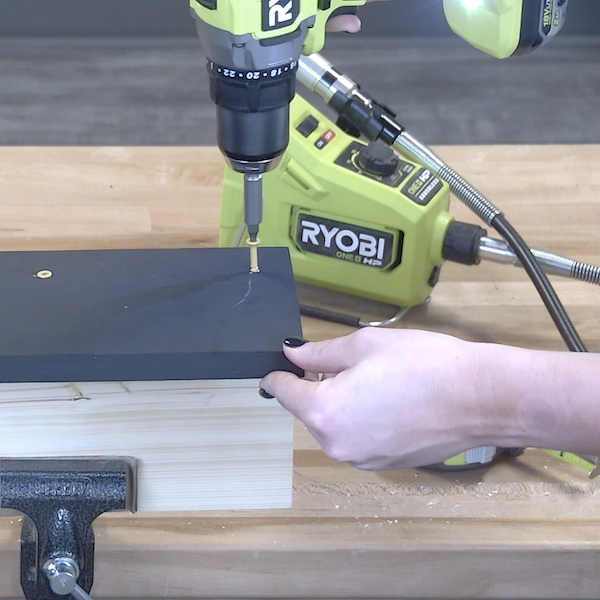
STEP 7
Place the shelf piece an inch up on the backing piece and mark each side for reference. Flip the backing piece over and mark points an inch up at 1, 6, and 11 inches. Drill pilot holes through each of these points.
Tools
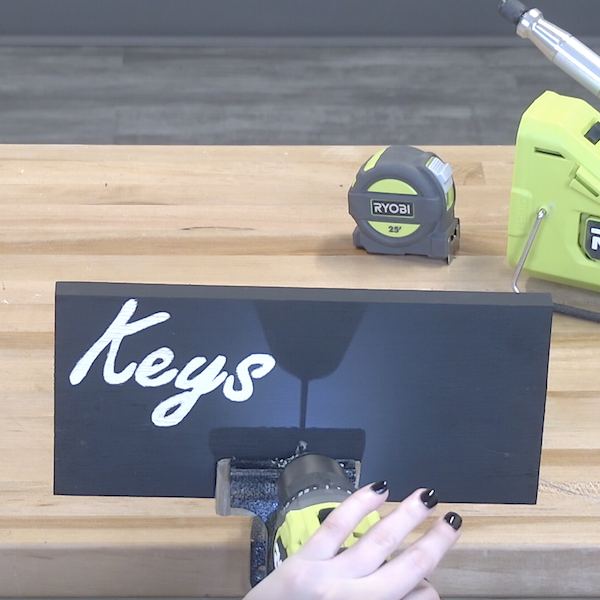
STEP 8
Place the shelf piece into a bench vise. Line up the back piece on the shelf piece according to the pilot holes. Attach the two pieces by inserting the screws into the pilot holes and driving through both pieces.
Tools
Materials