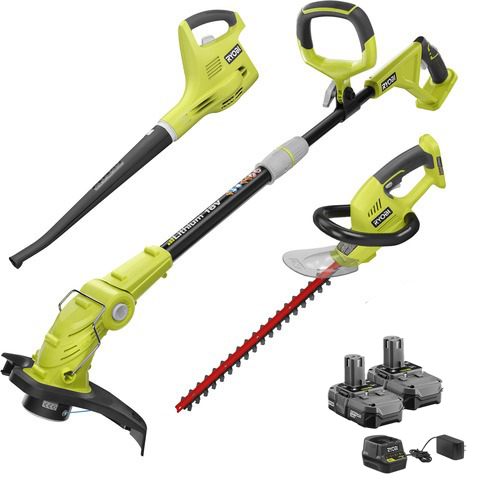
18V ONE+™ String Trimmer/Edger, Hedge Trimmer & Sweeper with (2) 1.3Ah Batteries & Charger
P2015
Not your product? Search Again
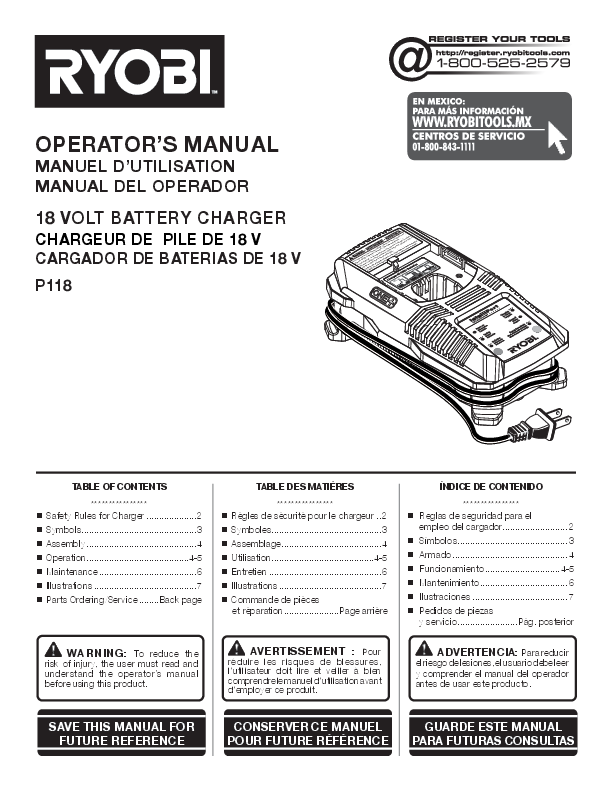
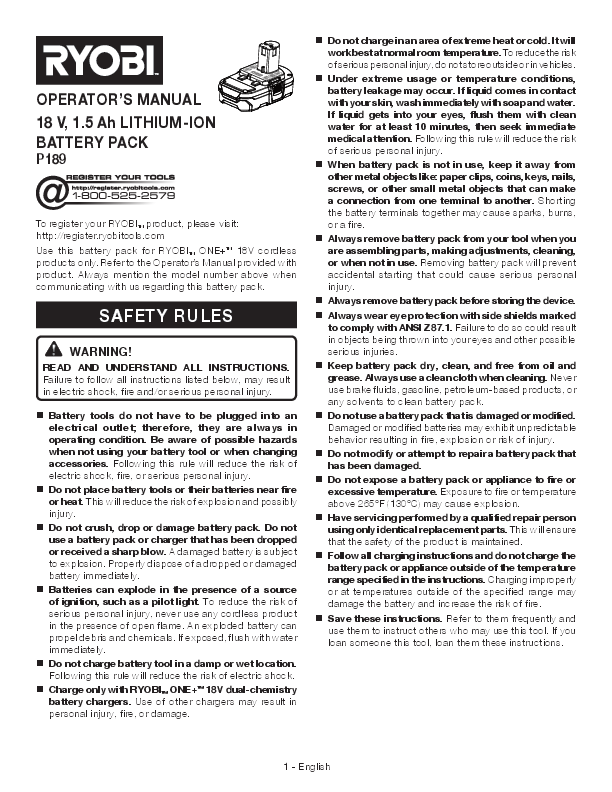
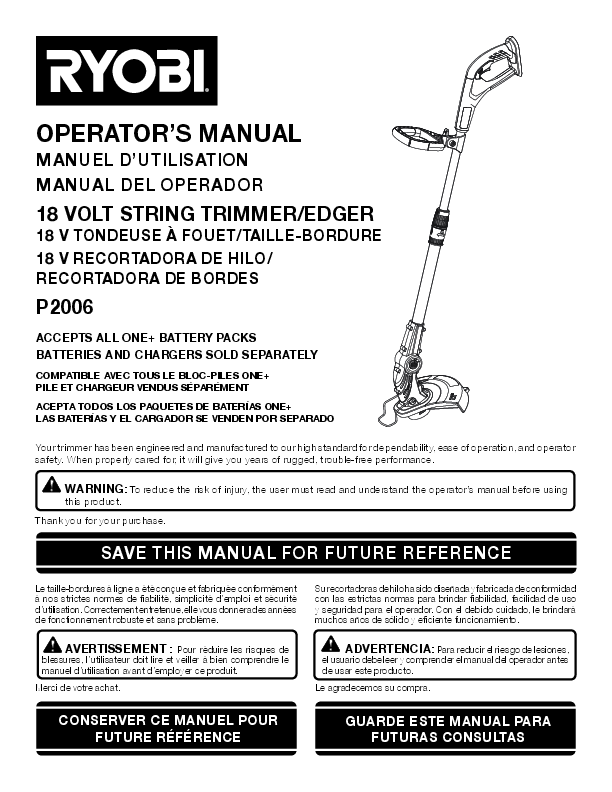
Manuals
In The Box
- String Trimmer
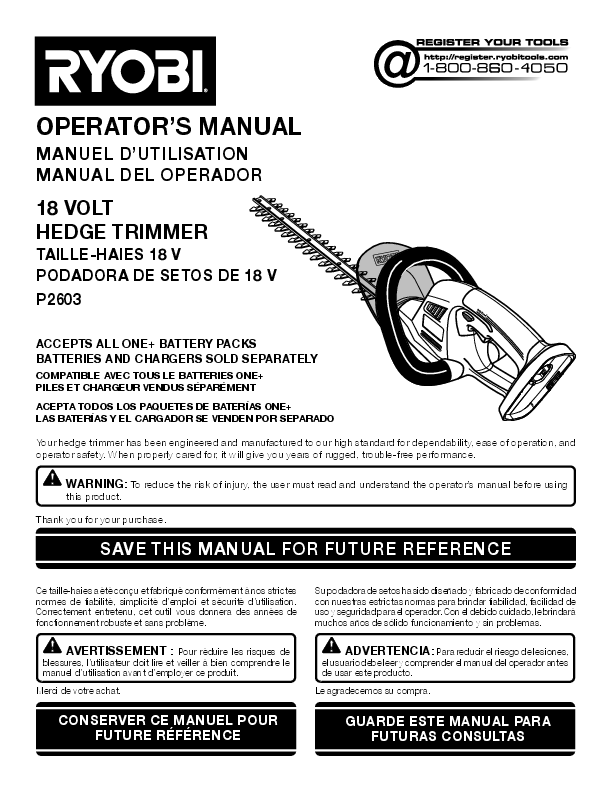
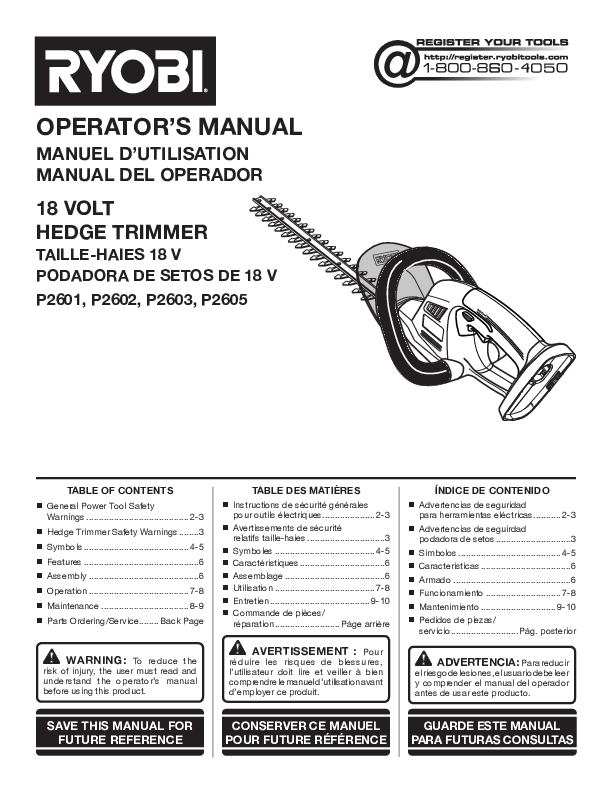
- Hedge Trimmer
- Hard Surface Sweeper
- 18V Lithium-ion Charger
- (2) Compact Lithium-ion Battery
Service & Repairs
For service and repair options, you can visit our replacement part store, a local authorized service center, or take advantage of our 14-day turnaround repair program known as Rapid Repair.