Steps
STEP 1
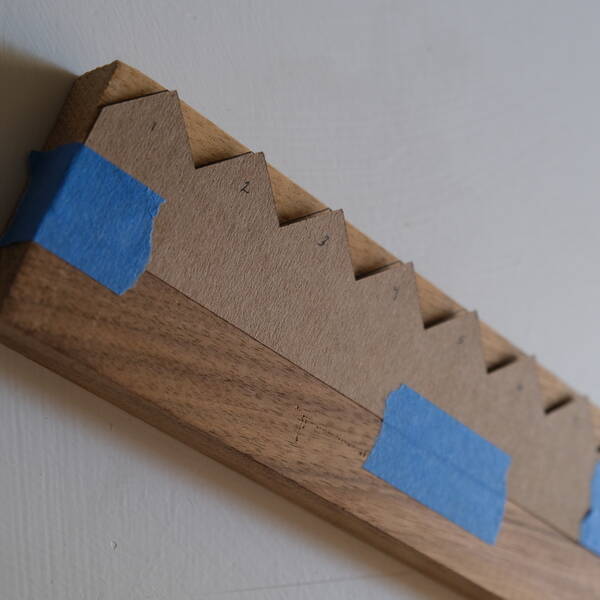
Create a template using card stock for 24 triangle shapes that will be cut into the the board. Use a pencil to trace the triangle shapes onto the top edge of the board. Drill 24 holes on the bottom edge of the board, spaced 1” apart.
Tools
STEP 2
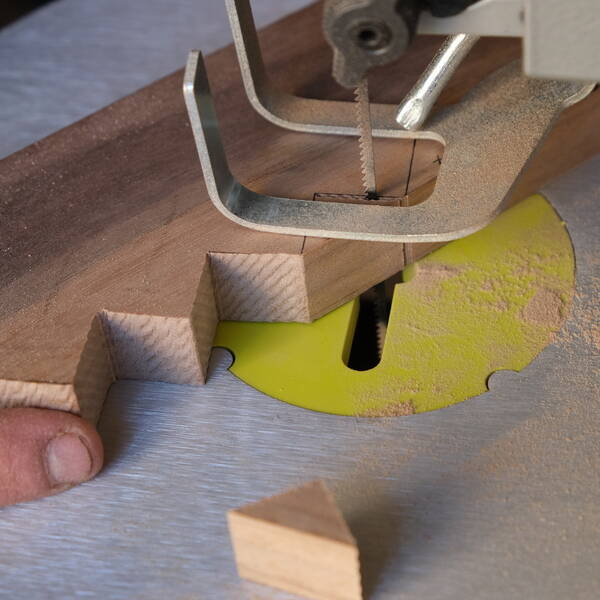
Using the 16in Scroll Saw, cut along the triangle shapes traced along the top edge of the board.
Tools
STEP 3
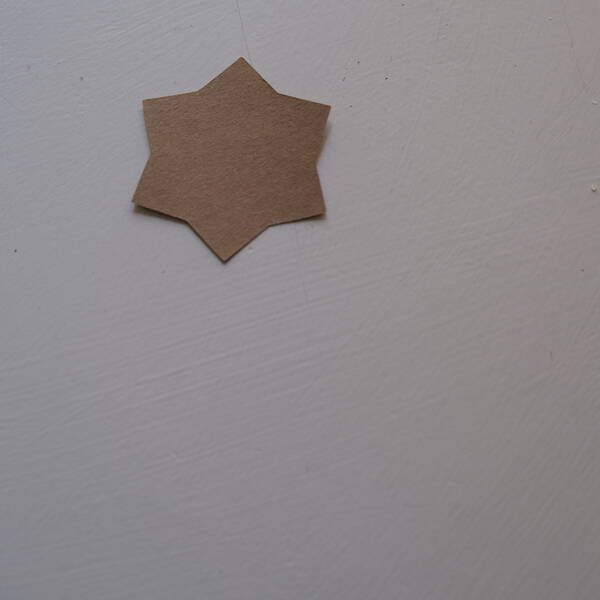
Out of cardstock, cut a star shape stencil with edges that correspond to the triangle edges on the board.Trace star shape onto scrap piece of wood. Using 16in scroll saw, cut along the star shape traced on the scrap piece of wood.
Tools
STEP 4
Take a cup hook and manually twist into the pilot holes. Insert the end of the screw eye hook into the 18V ONE+ HP Brushless Drill/Driver, securing the drill/driver round the threaded end. Slide the open end of the cup hook into the closed eye hook.
Tools

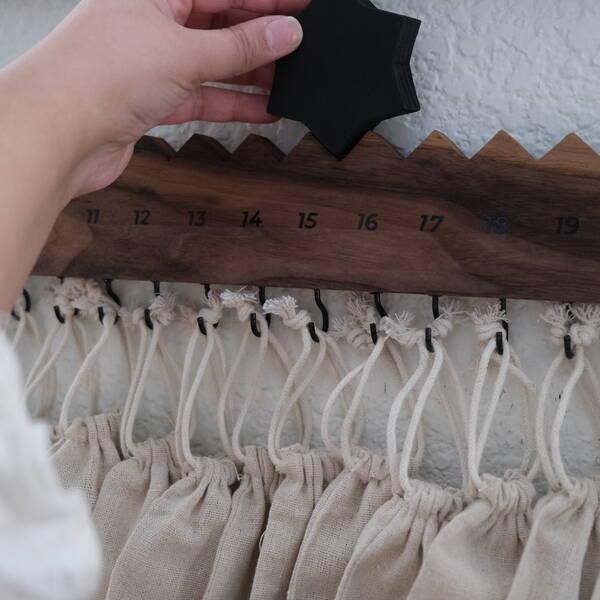
STEP 5
Use the drill/driver to make the cup hook screw into the edge of the board. Repeat until all cup hooks are in place. Hang desired small gift bags, envelopes, or other special surprises from the hooks. Hang board on the wall, adding wooden star.
Tools