Steps
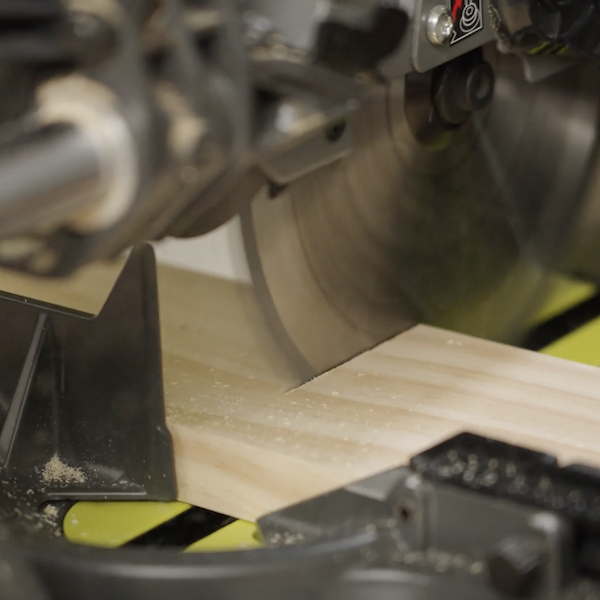
STEP 1
Cut out all material using the Lumber & Sheet Cut Layout Guide. Some initial sanding can be done after cutting the boards and panels. Sanding pieces prior to building can make the process easier before final assembly.
Tools
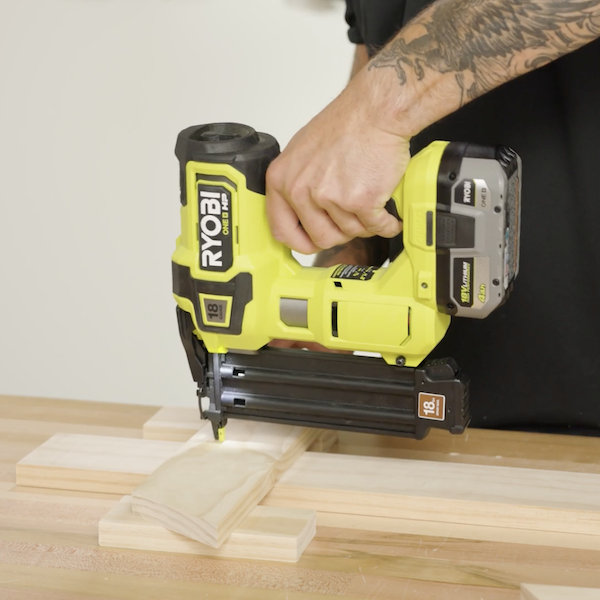
STEP 2
Measure down 5-5/8" from top end of 36" trunk board. Center Top Branch board onto trunk. Attach with glue and nails.
Tools
STEP 3
Add remaining boards by centering and leaving a 2-1/2" gap between each board. Progression of the boards get longer towards bottom. Attach with glue and nails.
Tools

STEP 4
Sand and add hooks. Top Branch holds (3) hooks, Upper Branch holds (4) hooks, Middle Branch holds (5) hooks, Lower Branch holds (6) hooks and Bottom Branch holds (7) hooks. For location of hooks measure 2" in from top cut and down 1" on both ends.
Tools

STEP 5
Add Advent ornaments to tree.